In This article, I will talk about prerequisites, installation and basic issues for VxRail installation.
When I created the this document, the VxRail version was 4.5.300. Therefore, it may differ with the current version. (Adding new nodes, ESRS installation, etc.)
Requirements (General)
| Step | Definition |
| 1 | Complete physical installations of Servers and Switches. |
| 2 | Do the IDRAC and Switch BMC wiring. |
| 4 | One cable from server to Tor Switch A, the second cable is to Tor Switch B. |
| 5 | Connect Tor Switches in the customer network and configure them as a stack, making sure there are no LACP on it. |
| 3 | Create the corresponding VLANS on Top-Of-Rack (Tor) Switches to be used for the VxRail. |
| 6 | Enable IPv4 and IPv6 multicast for the Management VLAN and IPv4 multicast for the vSAN VLAN. |
| 6 | Create forward and reverse DNS records for ESXi, VCenter, and Log Insight and make sure they are resolved. |
| 7 | Make sure the Customer network is accessible. (AD, DNS, Proxy, etc.) |
| 8 | Ensure that the ESXi servers and the NTP server show the same time, if necessary, fix the time via the IDRAC and ESXi host. |
| 10 | Tagged or Untagged traffic from Tor Switch ports connected to Vxrail are allowed, decide by structure. |
| 11 | Allow all traffic to pass through ports used in connection between all switches, including IPv4 and IPv6 multicast if Multiple switches are in use. |
| Optional | Check that the EMC support account is correct. |
| Optional | Make sure that the Switches connected to the BMC and the IDRAC support 100Mbps. |
Requirements (Network)
| Vlan | Multicast-IGMP | Related VLANS (4.7) | Sample IP Range | |||
| A | X | Vmotion_Network | 192.168.100.20-30 | |||
| B | ✓ | Vsan_Network | 192.168.101.20-30 | |||
| C | X | Vm_Network | Trunk | |||
| D | ✓ | The internal _Management_network | 192.168.102.20-30 | |||
| E | X | External_Management_Network | 192.168.103.20-30 | |||
| F | X | Idrac_Network | 192.168.104.20-30 | |||
| Vlan | Multicast-IGMP | Related VLANS (VxRail <4.7) | Sample IP Range | |||
| A | X | Vmotion_Network | 192.168.100.20-30 | |||
| B | ✓ | Vsan_Network | 192.168.101.20-30 | |||
| C | X | Vm_Network | Trunk | |||
| D | ✓ | Management_Network | 192.168.103.20-30 | |||
| E | X | Idrac_Network | 192.168.104.20-30 | |||
Requirements (DNS)
| Server Task | Sample Hostname | Example IP Address | DNS (Forward and Reverse) |
| Vcenter Ip | vcenter.fabrikam.local | 192.168.103.31 | ✓ |
| PSC Ip | psc.fabrikam.local | 192.168.103.32 | ✓ |
| Vxrail Manager | vxrail-mgr.fabrikam.local | 192.168.103.33 | ✓ |
| Vmware Log Insight Ip | loginsight.fabrikam.local | 192.168.103.34 | ✓ |
| Esrs Ip (Emc Account & Site Id) | esrs.fabrikam.local | 192.168.103.35 | ✓ |
| VxRail Node 1 | vxrail-01.fabrikam.local | 192.168.103.20 | ✓ |
| VxRail Node 2 | vxrail-02.fabrikam.local | 192.168.103.21 | ✓ |
| VxRail Node 3 | vxrail-03.fabrikam.local | 192.168.103.22 | ✓ |
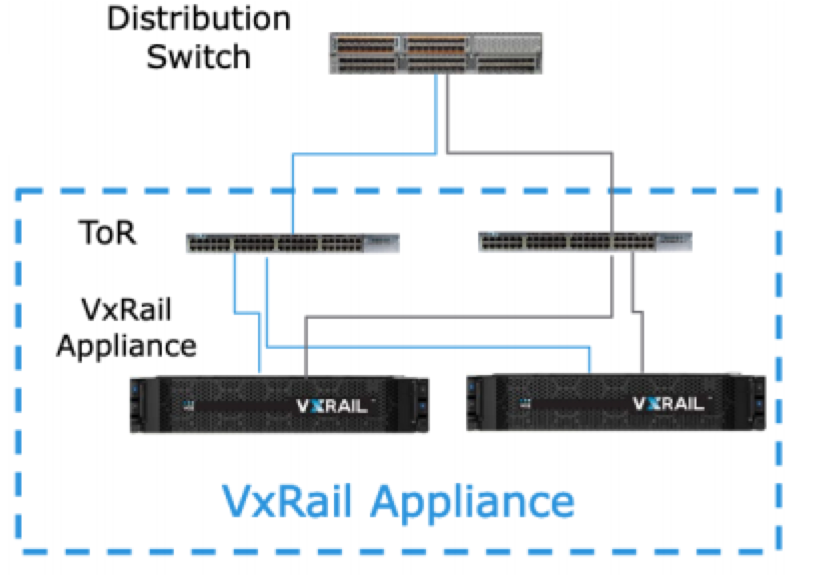
Simplified Topology
Below you can see the simplified VxRail topology. It supports from 2 nodes to 64 nodes.
TCP-IP Configuration Defaults
| Each node must be configured as DHCP for IPv4 and IPv6. |
| Must be “Link Local” (APIPA) |
| -169.254.Y.Z for IPv4 |
| -FE80:: As for IPv6. |
| Access to VxRail Manager 192.168.10.200 |
| Static IP should not be defined for ESXi hosts unless problem solving situations, configuration must be configured during installation |
Demo Setup
Previous requirements cover production environments. In the following stages, some steps may be configured differently or skipped.
Edit ESXi Management Network
| Connect to the Server via IDRAC or keyboard, mouse, monitor. |
| Activate ESXi Shell on All ESXi hosts. |
 |
| Switch to ESXi shell and login with ALT + F1 combination. |
| Configure the relevant VLANS for Management and VM Network through the following commands. |
| (Use the IDRAC virtual keyboard If you experience regional character problems.) |
| esxcli network vswitch standard portgroup set –p “Management Network” –v <VLANID> |
| esxcli network vswitch standard portgroup set –p “VM Network” –v <VLANID> |
Installation Troubleshooting
| Power on all VxRail nodes one by one. |
| Type 192.168.10.200 into the browser and start the setup steps. |
| If there is no access, check the network settings. |
| If you are sure of the correct network settings, Connect using the user name “root” and password “Passw0rd!” to ESXi Web , you can restart VxRail Manager via ESXi Shell unless you want to give static IP to ESXi. |
| Make sure that you can ping the default GW by connecting to VxRail Manager via SSH (mystic user) or ESXi Web GUI. |
| If VxRail Manager is running but the nodes are not visible then simply run /etc/init.d/loudmouth restart command through ESXi Shell and try again. If it still does not appear on, the Multicast-IGMP settings may not be correct switch side, check it again. |
| Sometimes, a node with a different firmware or software level can coincide. In such cases doing RASR Factory Reset can solve the problem. |
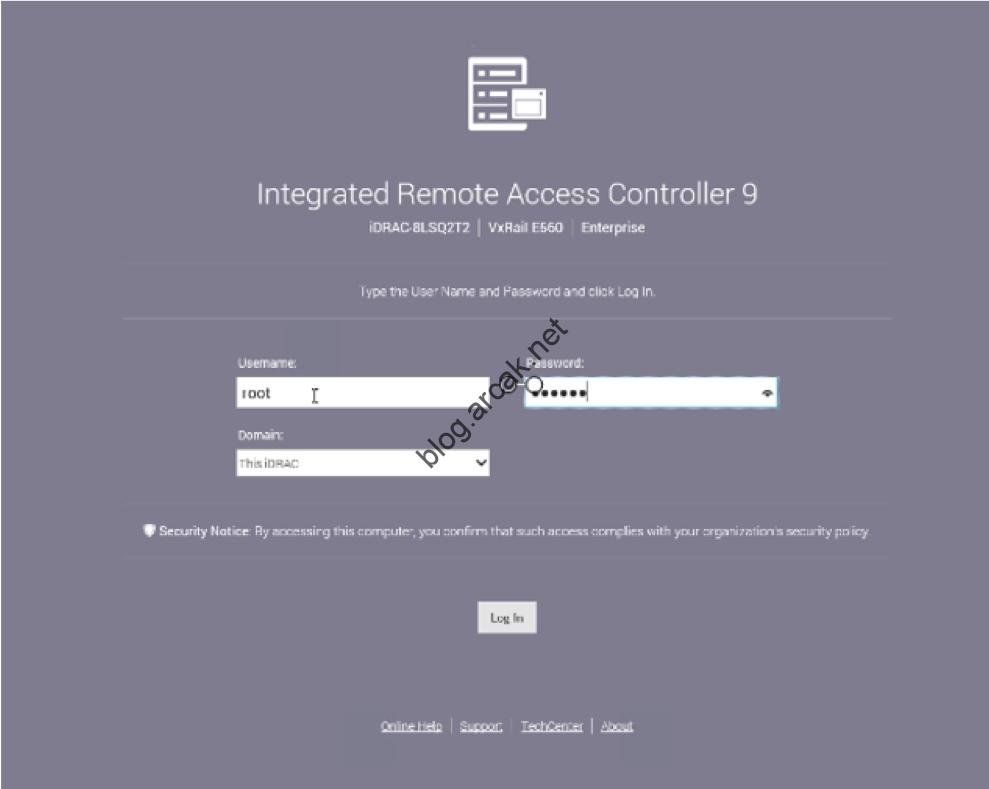
IDRAC Connection
Define IP to IDRAC for each node and provide remote connection to each one with “root” and “calvin” access information.
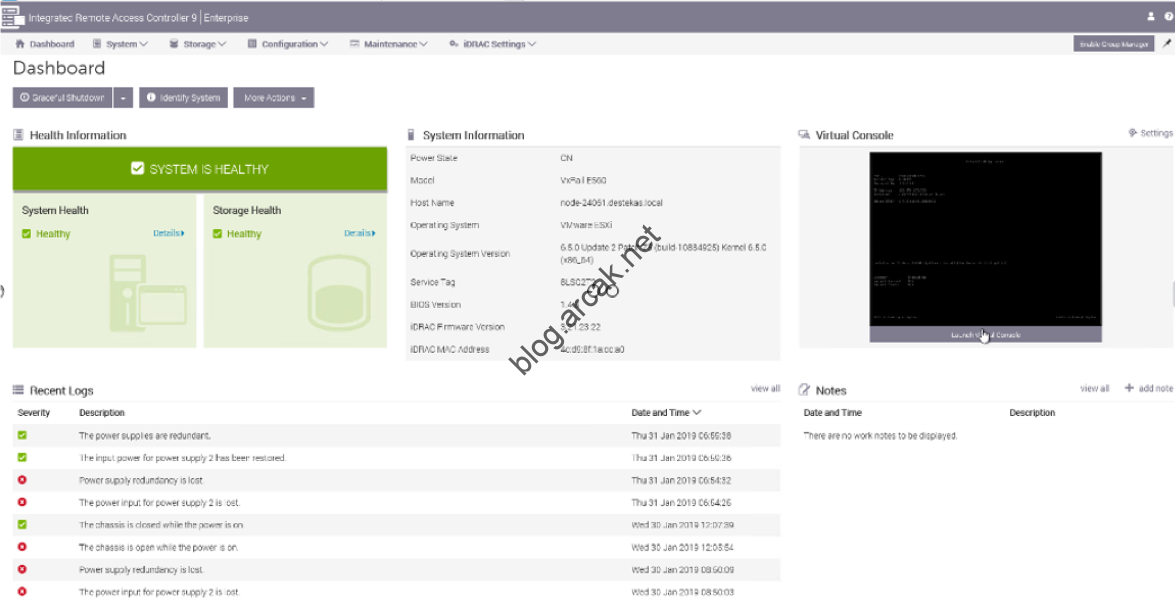
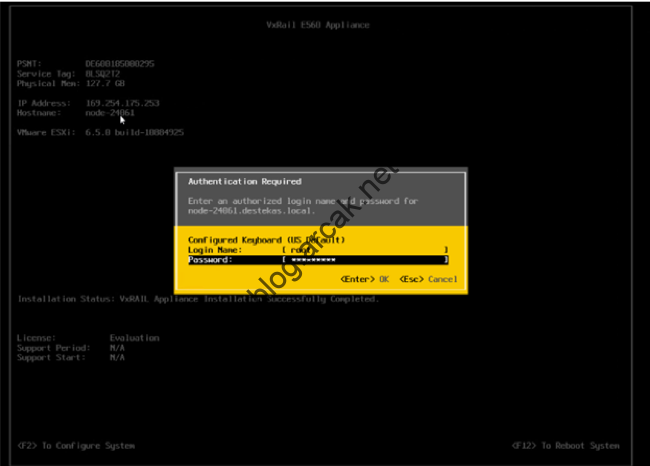
Access to all servers’ ESXi Console typing Launch Remote Console.
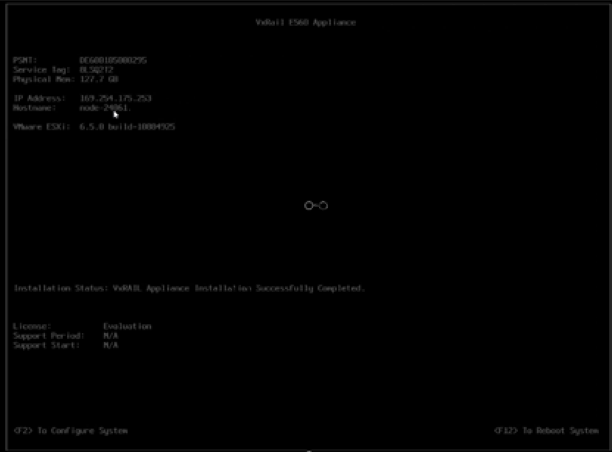
Press F2 and then tyoe username “root” and password “Passw0rd!” to access to the ESXi Console.
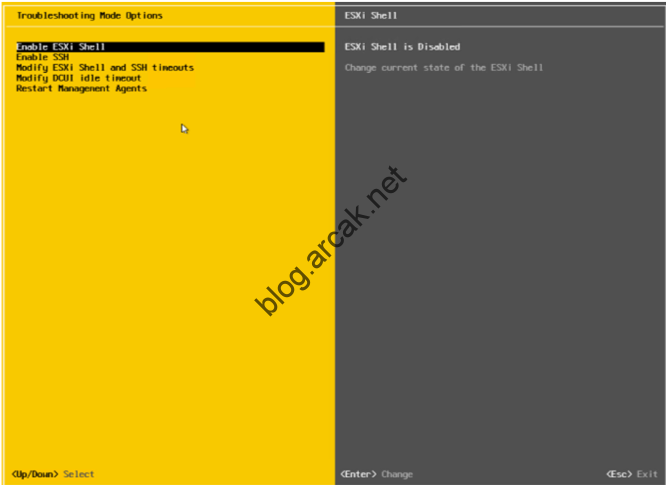
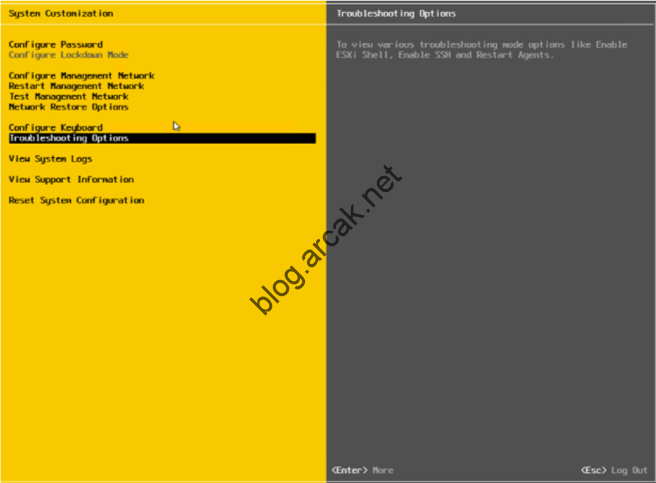
ESXi Shell Activation
Under the Troubleshooting Options tab, run the Enable ESXi Shell option.
VLAN Configuration
Log in to ESXi Shell pressing ALT + F1 combination, and perform VLAN descriptions to management and virtual server networks via ESXCLI.

If you experience regional character problems, you can benefit from the IDRAC virtual keyboard.

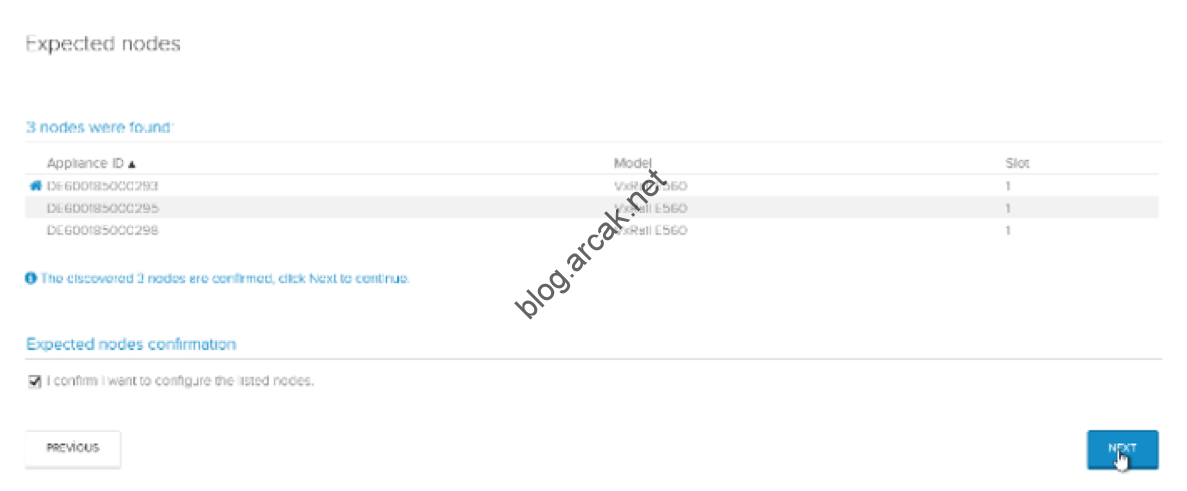
Start Setup
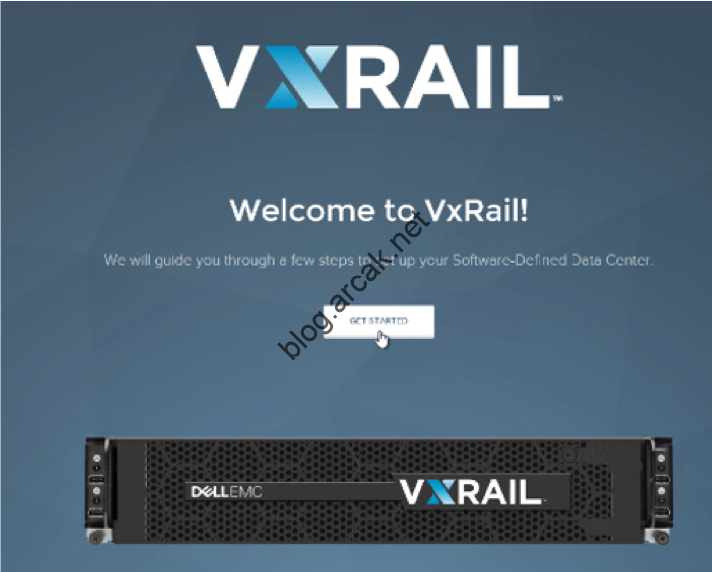
If all servers are displayed then continue configuration, if there is a problem, follow the Setup Troubleshooting steps.
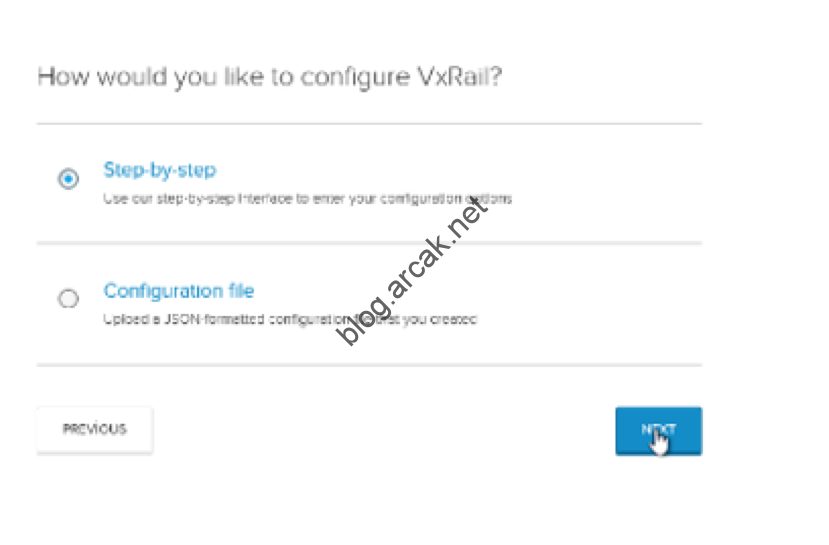
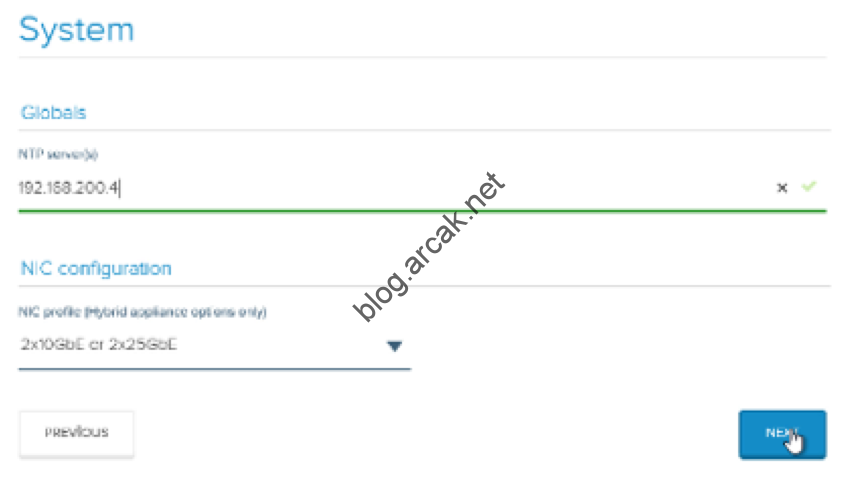
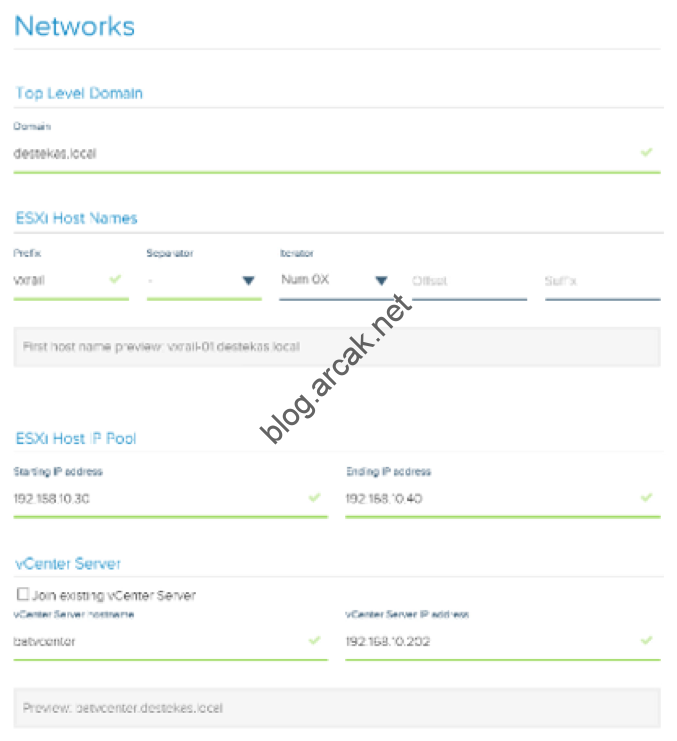
Configure your DNS and network card type and continue.
Enter Domain Controller, ESXi name pattern and vCenter informations, make sure that the host names to be created are queried from DNS.
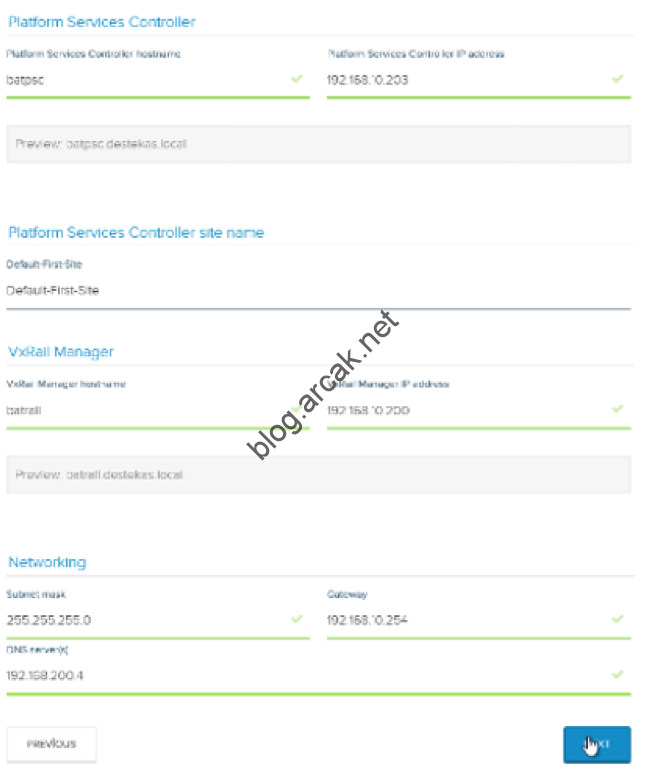
Enter the relevant network information for PSC and VxRail Manager, make sure that the host names that will be created are queried from DNS.
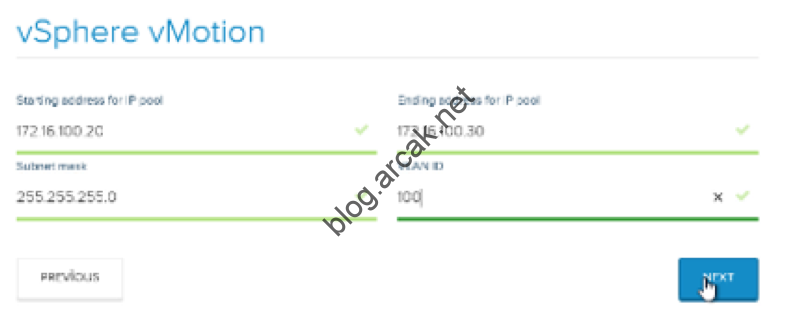
Enter the network information to be used for vMotion
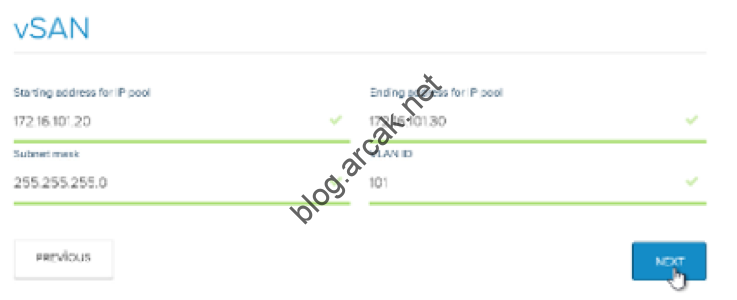
Enter the network information to be used for the vSAN.
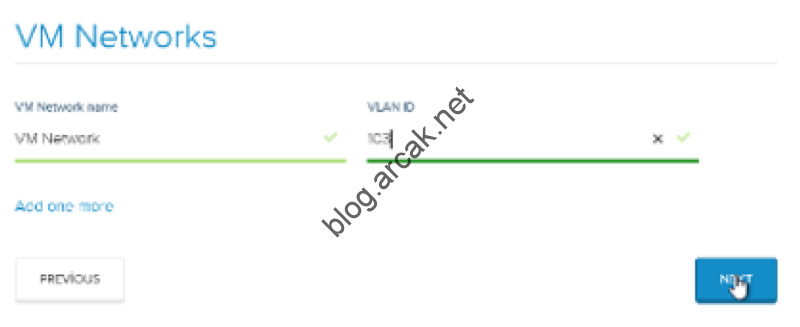
Select the network information that virtual servers will access, and setup cannot complete if inaccessible network information is defined.
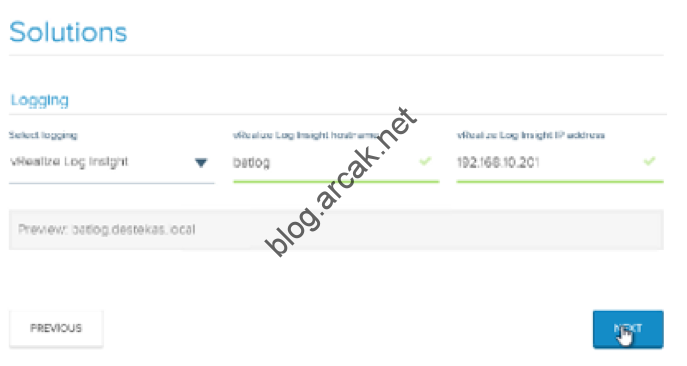
Enter the hostname and IP information required for LogInsight.
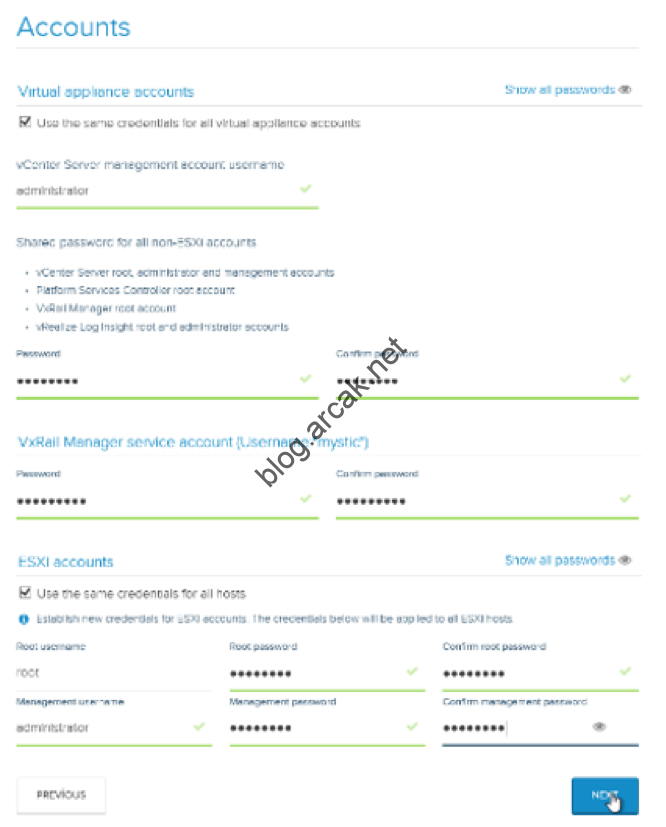
Enter the Username and password information.
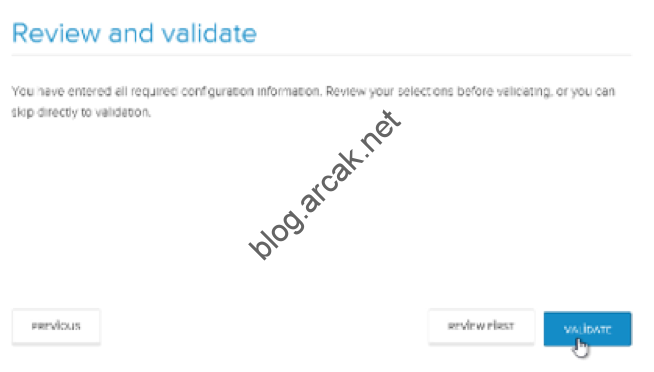
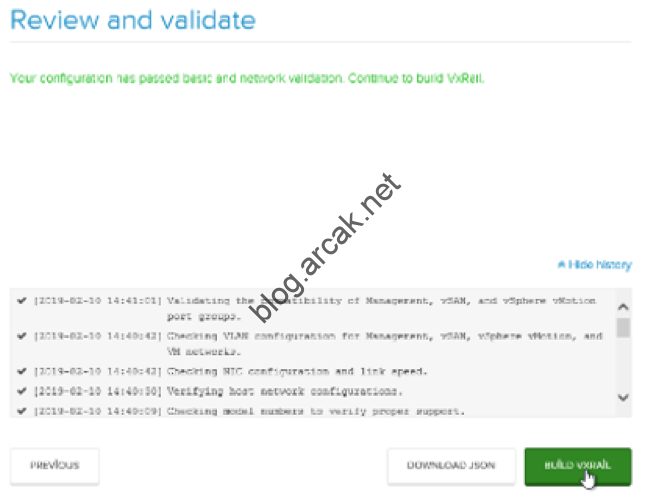
Start the validation process and proceed to the setup step if the validation is successful.
Important
If the VxRail Manager will use an IP other than default one(192.168.10.200), be sure to configure that secondary IP to your computer.
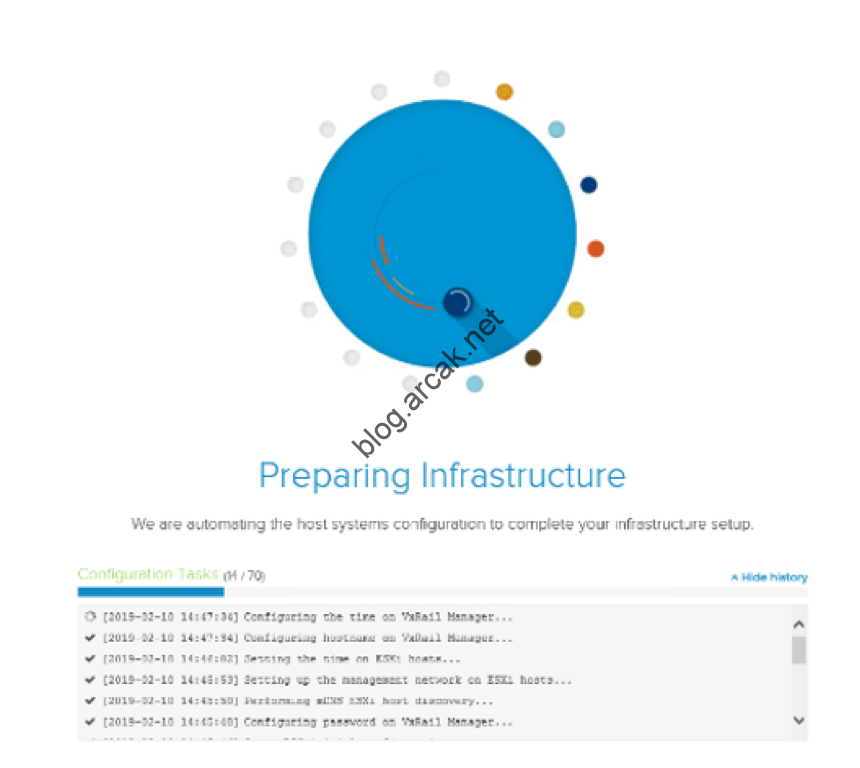
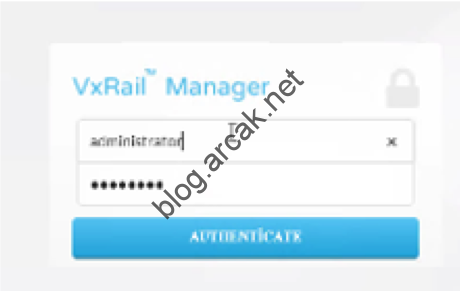
You can switch to the management screen when setup completes successfully.

Log in to the system with the previously created access information.
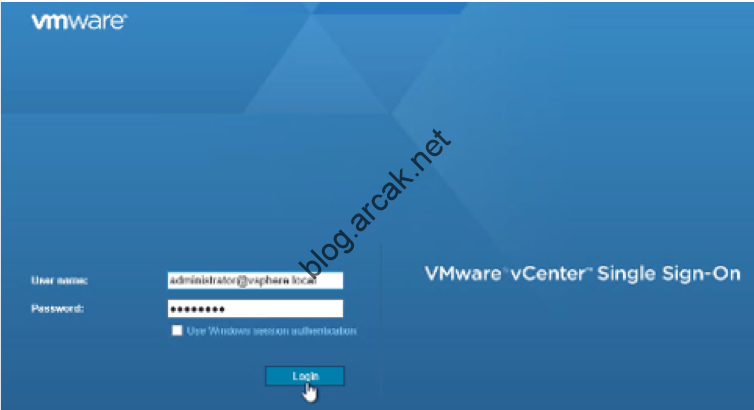
After checking that All processes are okay, log in to the vCenter.

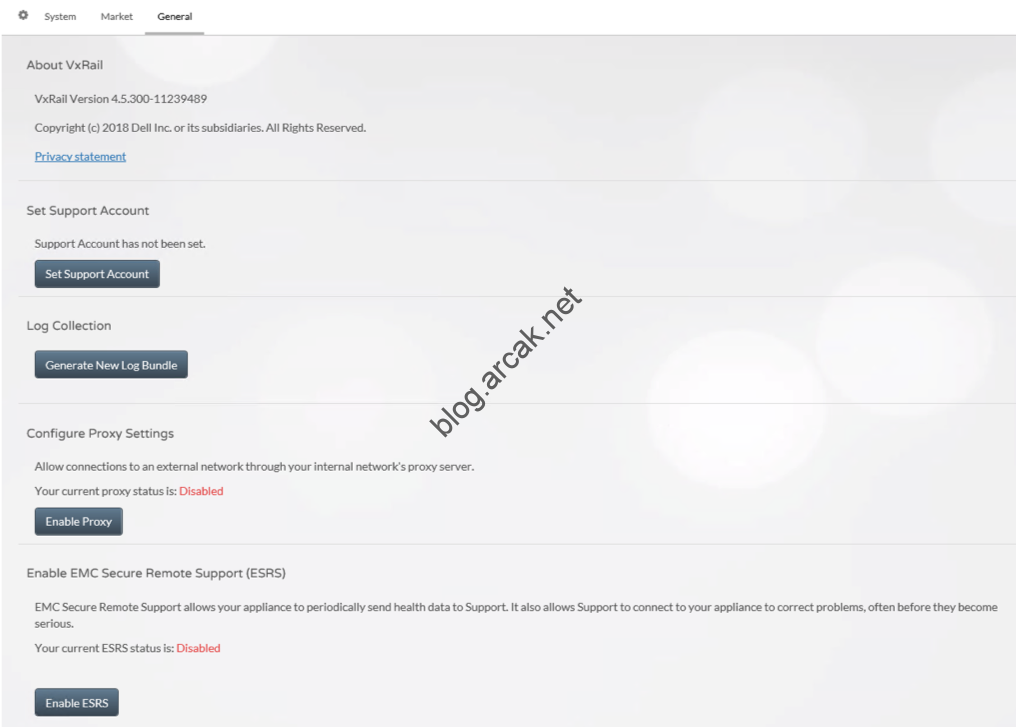
By clicking Set Support Account, support activation is configured.

Under Config-> General tab, activation of ESRS is performed.
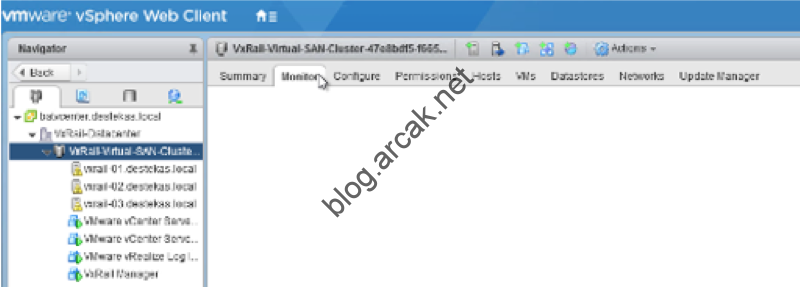
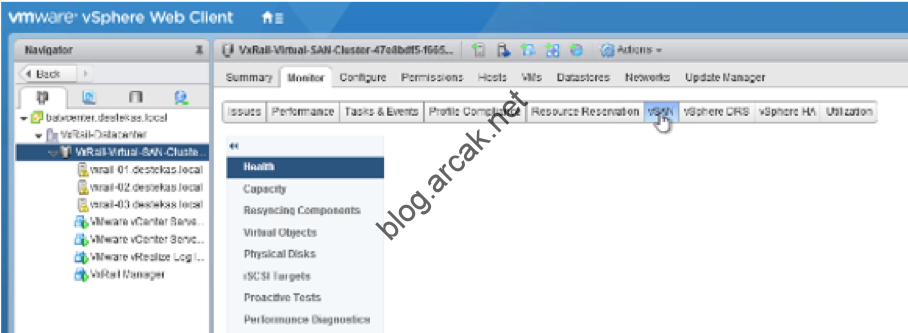
Under VxRail vSAN Cluster, follow the Monitor-> vSAN tab to start the Performance monitoring service, perform network performance and virtual server creation tests.
The Installation phases end here, enjoy your product:)
1 Yorum
Great Tutorials. After all these years I still share this document with people who needs it.